How To Prepare For an Artist Exhibition - My Top 10 Tips
Making art can be personal, so when it comes to showing it in the big wide world, for everyone to see, overwhelm can soon creep up on you. Having a clear calm list of steps to take, running up to an exhibition, can take a lot of the anxiety away, so you can enjoy the journey and flourish along the way.
Over the past year, I've had the amazing opportunity that was the Joan Day Painting Bursary, by South Square Centre, Thornton. This resulted in time to develop my practice and a two-month solo exhibition that I had almost total reign over.
I also won the Scott Creative Arts Foundation, Emerging Artist Award, resulting in a group exhibition that toured from Thirsk to Huddersfield; had support from the curator Lucy Morrison to show at the Great Yorkshire Show; and was also invited to exhibit on Bradford's Unesco City of Film, Big Screen; and at Hebden Bridge Town Hall. All these experiences were unique, with different requirements.
So what should you priorities when preparing for an exhibition?

1. Know the space
Where are you exhibiting? Is it a gallery space or are you creating a space yourself? Every exhibition is different. Is it a solo exhibition or group exhibition? Arranging a meeting with the people you're exhibiting with early on, is a good place to start. Discuss any rules or limitation in the space? Is there a particular hanging system?
How big is the hanging space - is there a floor plan?
Does the venue charge for the space or take a commission for any sales? Is the space run by staff or will you need to invigilate it yourself?
If you're having an opening event, will it be open to everyone or a private view? If it's with a gallery, will they provide any marketing material? Will you have to print your own interpretation?
Are there any important health and safety features in the space you need to be aware of? How accessible is the space?


2. Know your angle
What do you want this exhibition experience to be about? Keeping in mind what you're aiming to communicate as you go through all the practicalities of planning an exhibition can make a big difference in how your exhibition turns out.
Having a clear idea will influence the decisions you make along the way, from the kind of invites you make, to how you hang your work at point of installation.
3. What work, where?
Get creating!
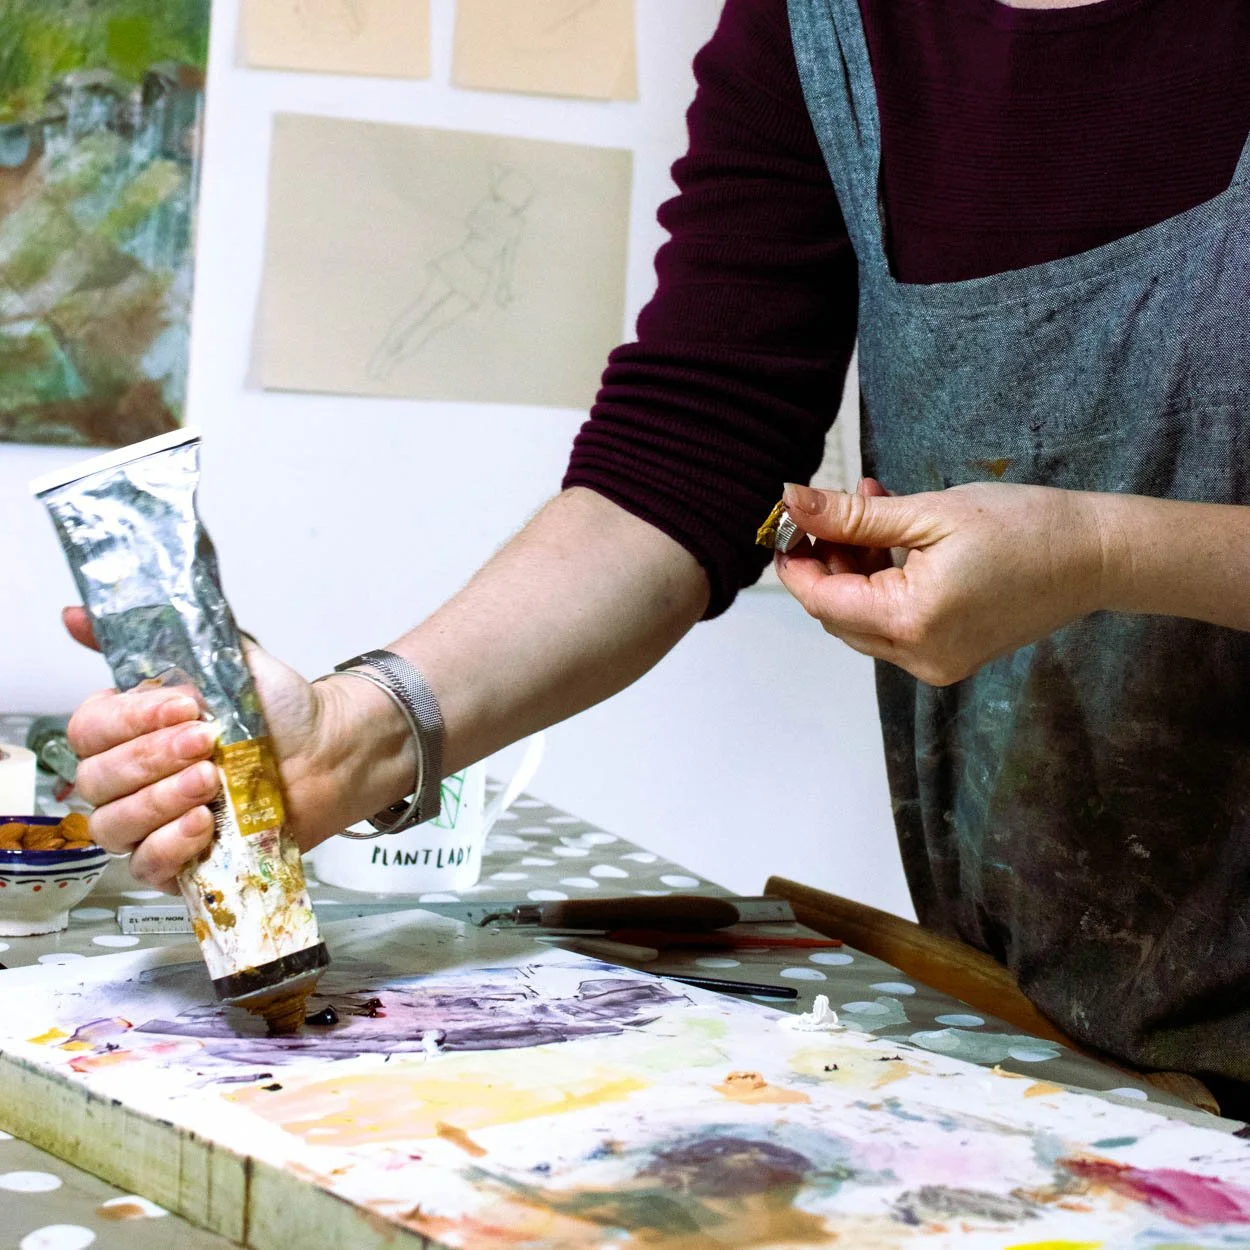
After visiting, getting a feel for a space and talking through ideas, it's a good idea to have a think about which of your pieces will work best in this space. You might not know what you're going to create yet, however knowing the space could influence aspects such as the size of your work.
Can you go really big? Or would something intimate and small be more effective in the space? If it's a group exhibition, what kind of work do the other creatives make? You might have already created work you want to show, but how are you going to show it?
I like to list my pieces or possible ideas, and pencil them in on a rough draft of a floor plan. This can all be changed further down the line. However, it's a good place to start, to keep the space as a whole in mind. After all, curating a space is an art form in itself.


4. Interpretation
Next, I like to write interpretation material out, pretty early on in the process. Having a well written statement can fill you with confidence, as well as being very useful when creating posts online, invites and posters.
5. Promotion
I usually aim to have a poster created about a month in advance. You can use this in email invites, newsletters, on social media, your website, and also print them out as flyers. What does your audience use the most? You could create a simple Facebook event page or a link in your bio on Instagram to your website with regular story reminders.
Do you want to print any postcards or other promotional products? What about business cards?
6. Getting work ready to install
For wall based work, most galleries either use D-rings or mirror plates. Some let you drill into the wall. Others have a hanging system with zipper hooks, that slide up and down perlon cords. Will the venue let you use pins, sticky pads/blue tack? Sometimes bulldog clips can be very effective.
If your work is 3D, will it be floor based, hung in mid-air or need some kind of plinth? Do you need to provide the plinths yourself? Making your own plinths can be a lot more cost effective but bare in mind the time this takes and try to factor that in.
It's important to get your work looking it's best. Paintings on board or canvas might want their edges neatened up. If it's been hanging around in your studio to dry, could it possibly be a bit dusty?
Don't forget to sign your work, and I find logging it at this point can be helpful too.
The venue might want a list of your pieces to hand, in case anyone enquires about sales. You can also use this information when writing out certificates of authenticity. Some artists stick these to the back of their work with photo corners, however you could also give these to buyers in person on collection, or ask the venue to take contact details and send them out later.
Does your work need to be framed? If not, how are you going to attach hanging accessories? I work on wooden panels with an added support on the back, which I can then attach the appropriate fittings to.


7. Make labels!
Foam board can look very slick, however thick card stuck on with white tack can do the job. Some galleries prefer to print their own.
How much info do you want to include? Often the name, and price is all you need, or you could include the year it was made and the media you used. You could simply number your pieces and provide a hand out/list with more information.
8. Mailing list
Having a physical exhibition is a great opportunity to gather information about your audience. Think about how you could do this in your specific exhibition space. In the past, I've left a short form to fill in, in a discreet corner, and provided a sealed box to post it into.
Sending out newsletters is a fantastic way to build stronger relationships with your audience. Gathering information at an exhibition, not only reaches out to those who don't use social media, but also lets you gather information, such as what people would be most interested in learning more about – future exhibitions/workshops/how you work etc.
9. Last bits and bobs
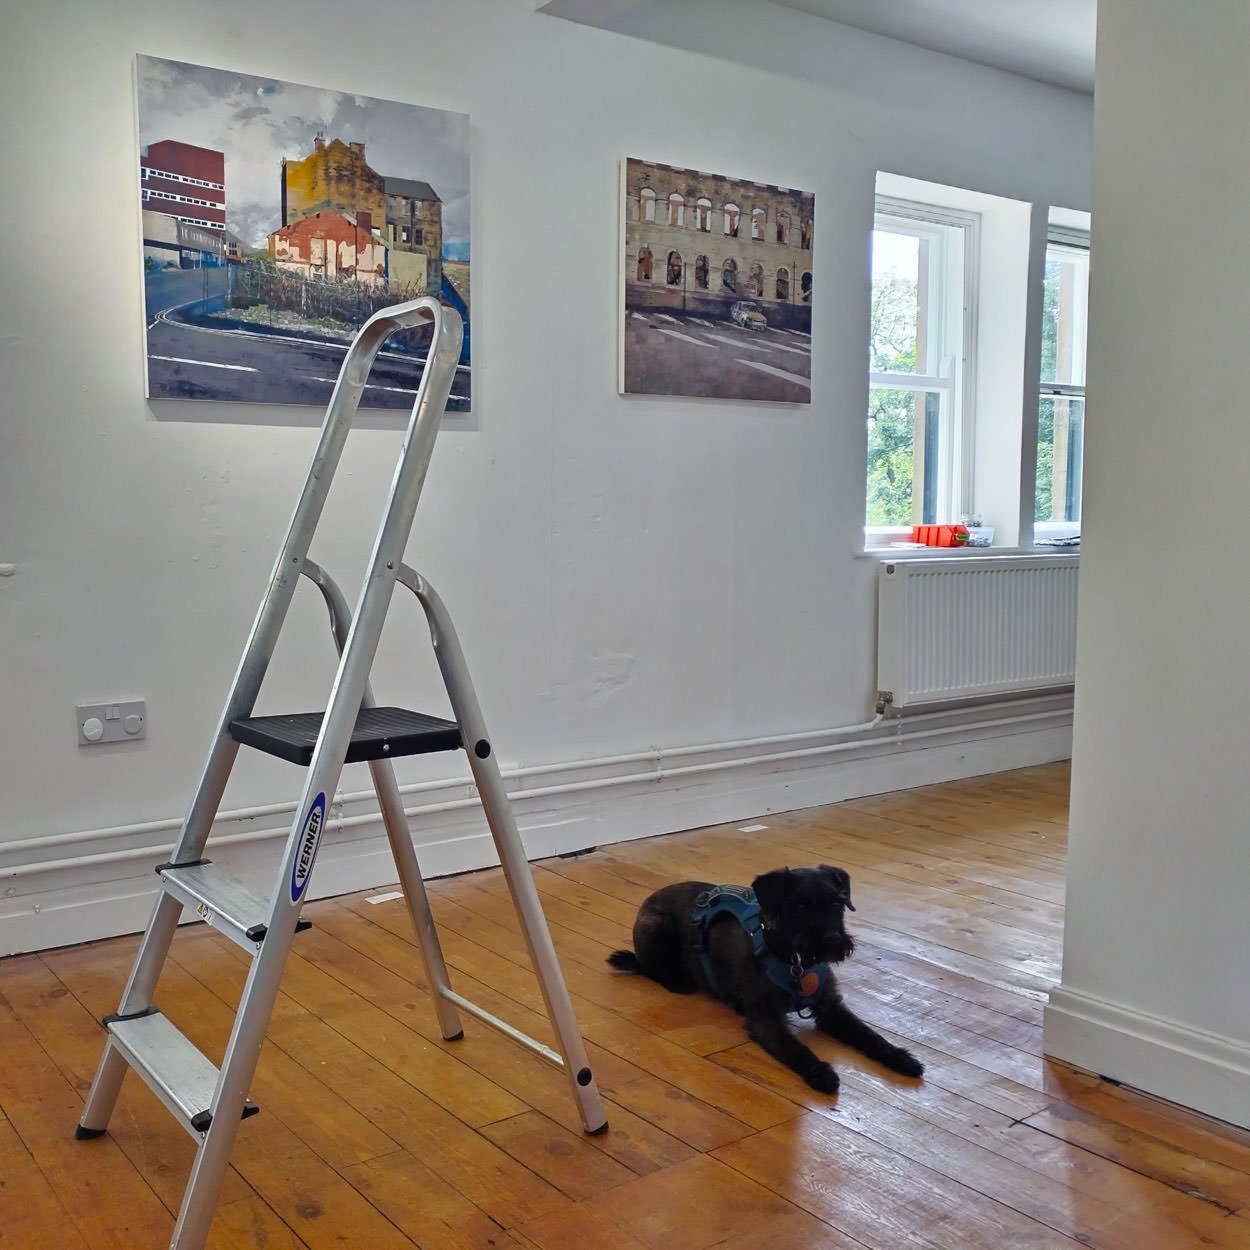
At this point, you might want to redraw out a clear floor plan and clearly label where each piece is going to go. This will make installation run a lot smoother.
Wrap your work to protect in transport. If you're installing your work yourself, will you need any drills? Ladders? Tape measures? Spirit levels? White tack? How much support will the venue be providing, or could you ask anyone to help?
10. Breathe!
Double check your list. Take stock of all the hard work you've put in and be proud of what you've created. You've got this!